Overview
In this article, you will learn how to use the Self Check-In system for your clients, which is one option for check-ins. This is normally used when you do not have someone at the front desk, or you have set up a self check-in kiosk, and you want members to check themselves in. They can do this by either manually entering their Member Id or scanning it via a barcode reader/scanner. You can also optionally allow people to check themselves in using their last name or as guests.
Before You Start
You will need to have the facilities built that you want to use to check a member into. If you are checking someone in as a Simple Facility Check-in, this is all you will need.
To check a member into a membership, you will need to have built and enrolled the member into a membership.
To check a member into a program, you will need to have built the program and at the program level enabled drop-in. To see how to do this, please see How Do I Create or Edit a Program?
From the Dashboard, click on the Facility tab, then select Self Check-in from the facility sub-menu.
How Do I use Self Check-in?
Setting Up the Self Check-in Page
- Select a Facility from the drop-down;
- Choose how you'd like check-ins recorded:
- If you'd like to record check-ins for all of a member's active memberships select AUTO-RECORD Check-in For Member's Active Membership(s)
- If you'd like to record check-ins only for a member's active memberships that are checked under Limit check-ins to Members with the following active Memberships, select DO NOT Auto-Record Check-in For Member's Active Membership(s)
- Optionally check Allow Guest Check-ins (unchecked by default)
- Optionally check Allow Check-ins by Last Name search (default is by Member-Id only)
- Optionally check Play a sound when member checks in (checked by default)
- If you'd like to Limit check-ins to Active Members of certain Memberships, check the memberships from the list
- Click Go to Self Check-in Page.
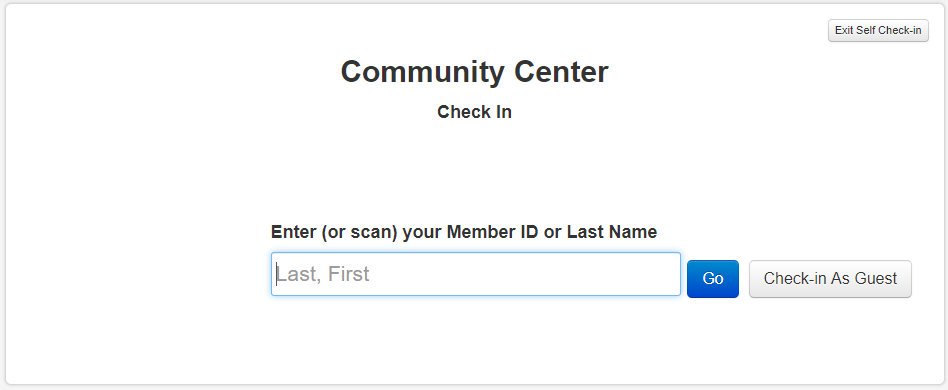
Self Check-ins:
- Check-In Member:
- If you allowed check-ins By Last Name - enter first few characters of last name and press Enter. You can also enter the full last name with a comma after it, followed by all or part of the first name. Select them from the list by clicking the Check-In button;
- By Member Id - Enter Member Id and press Enter (or click Go);
- Scan In - Member can scan their barcode
- If you allow guests to check-in, click Check-in As Guest. A screen will pop up asking for information. First name and last name are required. Click Check In to complete the guest check-in.
Notes:
Once you have entered Self Check-In mode, the PC/tablet is locked out and the user cannot access the other applications on the PC/tablet until Exit Self Check-in is clicked and the password of the user that set up the Self Check-In page is entered.
Also helpful is What Type of Barcode Reader Works with RecDesk?